One interesting problem that have crossed me recently is connecting two EC2 instances within the same Security Group using SSH.
For you to be able to do this tutorial, you must have had read my two previous tutorials about setting up AWS Security Groups and creating rules on AWS Security Groups
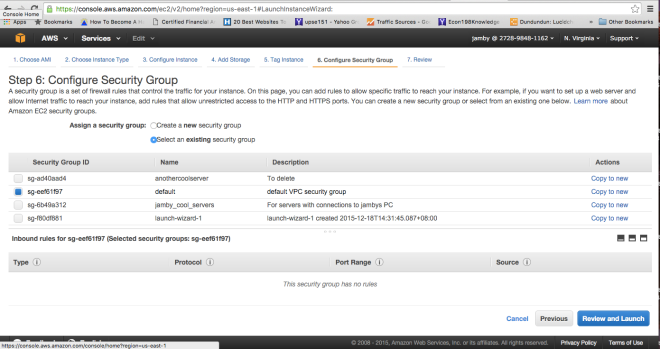
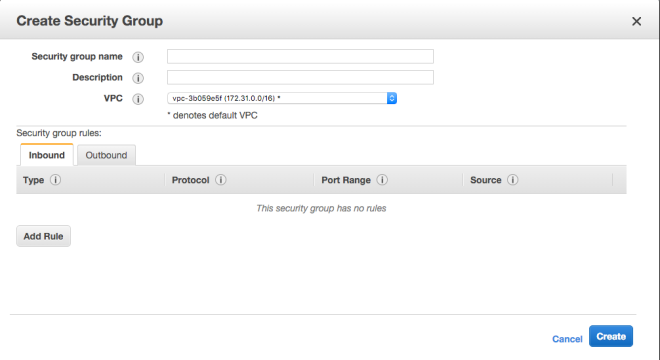
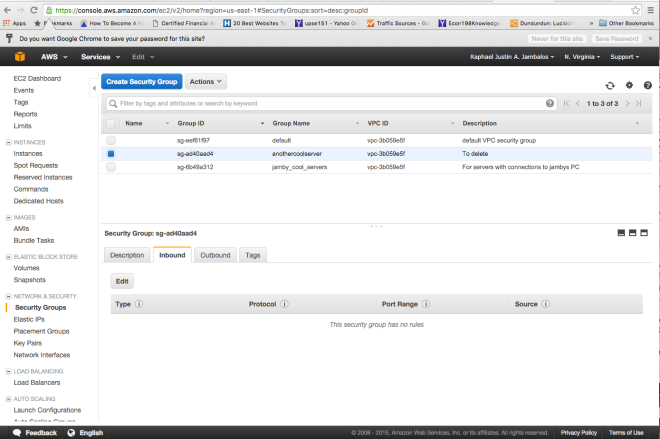
Creating a rule: Allowing instances within the same SG to access each other.
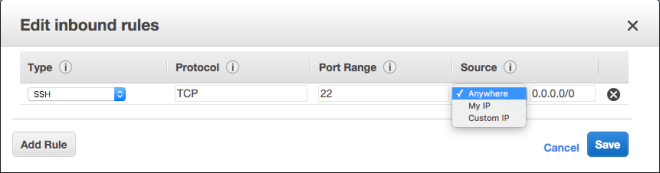
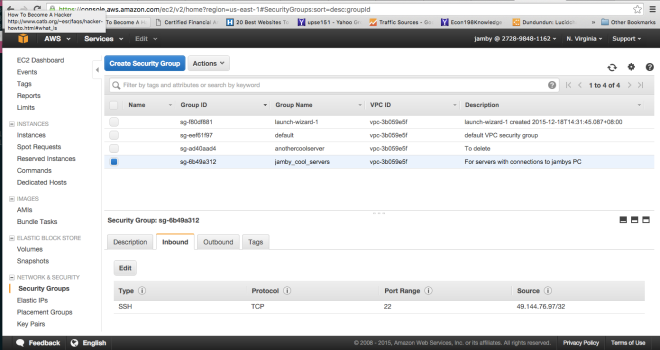
Using this tutorial, I would create an SG with the name jamby_talking_servers. And I would add a rule that allows “all traffic” as type and make the source “custom IP” and type the current SG’s SG Number and also add an SSH access rule to my local machine (similar to the one I did above) so I can access an instance.
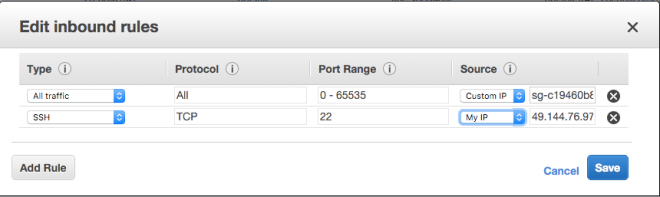
This would allow all forms of traffic between two instances belonging to this SG.
Demonstrating SSH access via an EC2 instance to another EC2 instance belonging to the same SG
The demonstration would compose of 4 parts. This is to properly allow the first server to access the second server.
I. Creating the instances and SSH to 1st Server
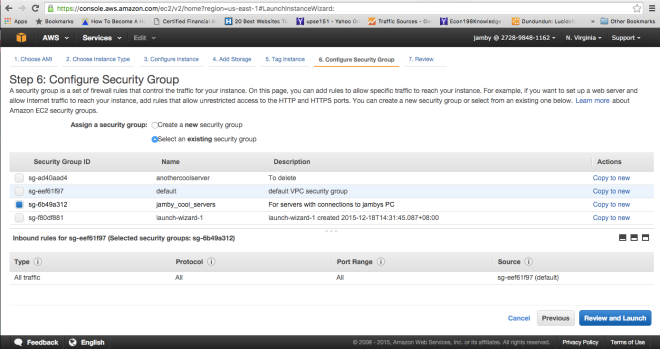
For this purpose, I would create 2 t2-micro Ubuntu instances all associated with the security group “jamby_talking_servers”.
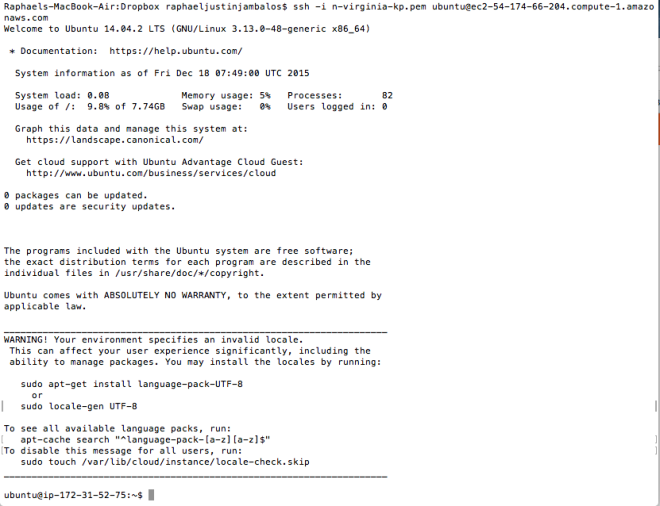
First, I would SSH to the first server “ubuntu@ec2-52-90-93-254″ using my keypair file.
ssh -i n-virginia-kp.pem ubuntu@ec2-52-90-93-254.compute-1.amazonaws.com
II. Generate public key for the first server (if there isn’t any)
First we have to check if there are ssh keys for this instance using
sudo find / -name "id_rsa.pub"
Then, if there isnt, we generate one using the command
ssh-keygen -t rsa -b 4096 -C "instance-1"
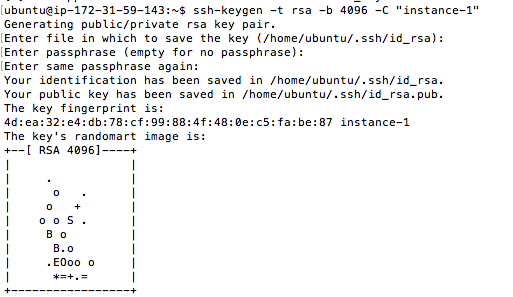
We press enter three times to use the default filename (id_rsa.pub) and no passphrases.
Then, we find the SSH file using the command
sudo find / -name "id_rsa.pub"
In my case, it lies on /home/ubuntu/.ssh/id_rsa.pub so I use sudo vi to access that.
sudo vi /home/ubuntu/.ssh/id_rsa.pub
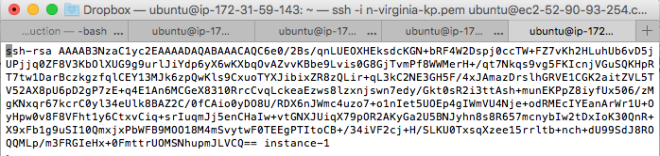
I then copied the contents of the file to a textfile and store it for section III.
III. Authorizing Server 1 to access Server 2 without the .pem file
In the environment, we would not be able to upload the .pem file as easily (except ofcourse if we use FTP to make the .pem available to server 1). So instead, we add the public SSH key of server 1 (that we generated from section II) to the authorized_hosts of server 2.
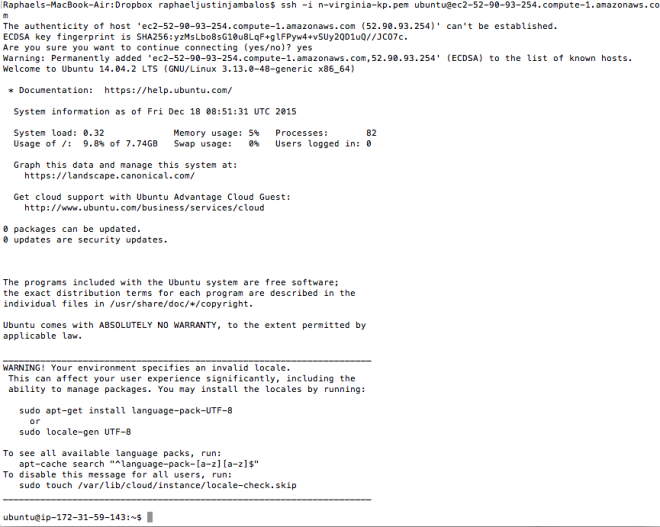
To do that, we first SSH using our local machine to server 2 (in my case ubuntu@ec2-52-90-57-156) and find the authorized_keys file. To do that,
sudo find / -name '*authorize*'
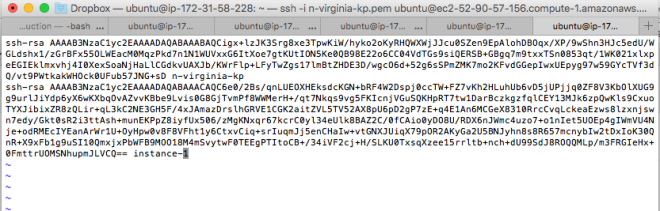
For my case, it is in ./.ssh/authorized_keys. And then we open that using sudo vi.
sudo vi ./.ssh/authorized_keys
Then, we append a new line to place the SSH public key of server 1 (that we derived from part II) into this file.
The authorized_keys files should look like this
Now, we are ready for the final moment, accessing server 2 via ssh in the console of server 1.
IV. Accessing Server 2 using Server 1’s console using SSH.
Going back to server 1, we then use the SSH command without the -i and the .pem file.
ssh ubuntu@ec2-52-90-57-156.compute-1.amazonaws.com
Now, we find ourselves into the console of server 2 using the console of server 1.
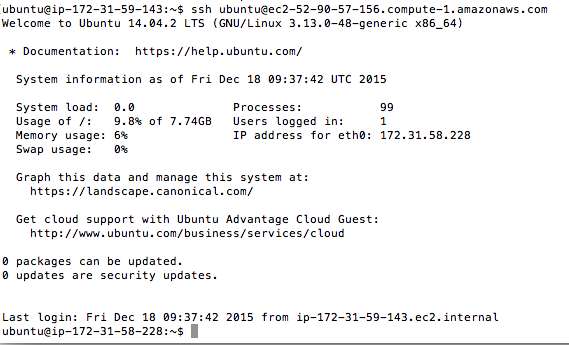
Notice that when we exit from server 2’s console, we find ourselves back to the server 1.

And that is how to connect two EC2 instances via SSH.
Sources for all three tutorials:
https://help.github.com/articles/generating-ssh-keys/
http://docs.aws.amazon.com/AWSEC2/latest/UserGuide/using-network-security.html
https://docs.aws.amazon.com/AWSEC2/latest/UserGuide/EC2_GetStarted.html?console_help=true
https://docs.aws.amazon.com/AWSEC2/latest/UserGuide/ec2-launch-instance_linux.html
http://docs.aws.amazon.com/AWSEC2/latest/UserGuide/get-set-up-for-amazon-ec2.html#create-a-key-pair